A step-by-step account of how a bias slip is drafted — from measurements and the rotated grain line to the shaped strap, the hip ease, and the hem that cannot be drawn.
The bias slip looks like the simplest garment a house makes. Two panels, four seams, two straps, no closure. It is in fact among the hardest things to draft correctly, because there is nothing in it to hide behind — no darts, no lining, no structure. Every decision is visible on the body, and the fabric will amplify each one. What follows is how a single panel gets from a set of measurements to a shape that can be cut.
The measurements that matter
Six numbers do most of the work. Bust circumference at the fullest point; underbust; waist at its narrowest; full hip at its widest, which is often lower than people assume; the vertical distance from the shoulder to that hip point; and the finished length from shoulder to hem. Two more are needed for a slip that is to sit well at the top: the distance across the front between the strap points, and the same across the back. That last pair is what stops a strap sliding off a shoulder, and it is the measurement most commonly skipped.
Ease is where a bias draft parts company with every other draft. A straight-grain garment needs positive ease everywhere in order to be wearable. A bias slip needs almost none at the hip and, at the waist, frequently needs negative ease — the pattern is drawn smaller than the body, because the cloth will lengthen and narrow under its own weight and settle into contact rather than compression. Draft a bias slip with conventional ease and you will produce a tent that hangs off the bust point and touches nothing else.
Rotating the grain
The draft itself is made square, on the flat, as though it were an ordinary garment. Only at the end is the grain line drawn — at forty-five degrees to the centre front, marked with an arrow that is longer than any other line on the paper, because it is the single instruction the cutter must not get wrong. From that moment the pattern piece is no longer read against the edges of the paper; it is read against that arrow, and the cutting table is laid out to follow it. Centre front is cut on the fold only if the fold itself runs on the true bias, which usually means the fabric must be folded corner to corner rather than selvedge to selvedge.
“In a bias draft the grain line is not an annotation. It is the garment. Everything else on the paper is negotiable.”
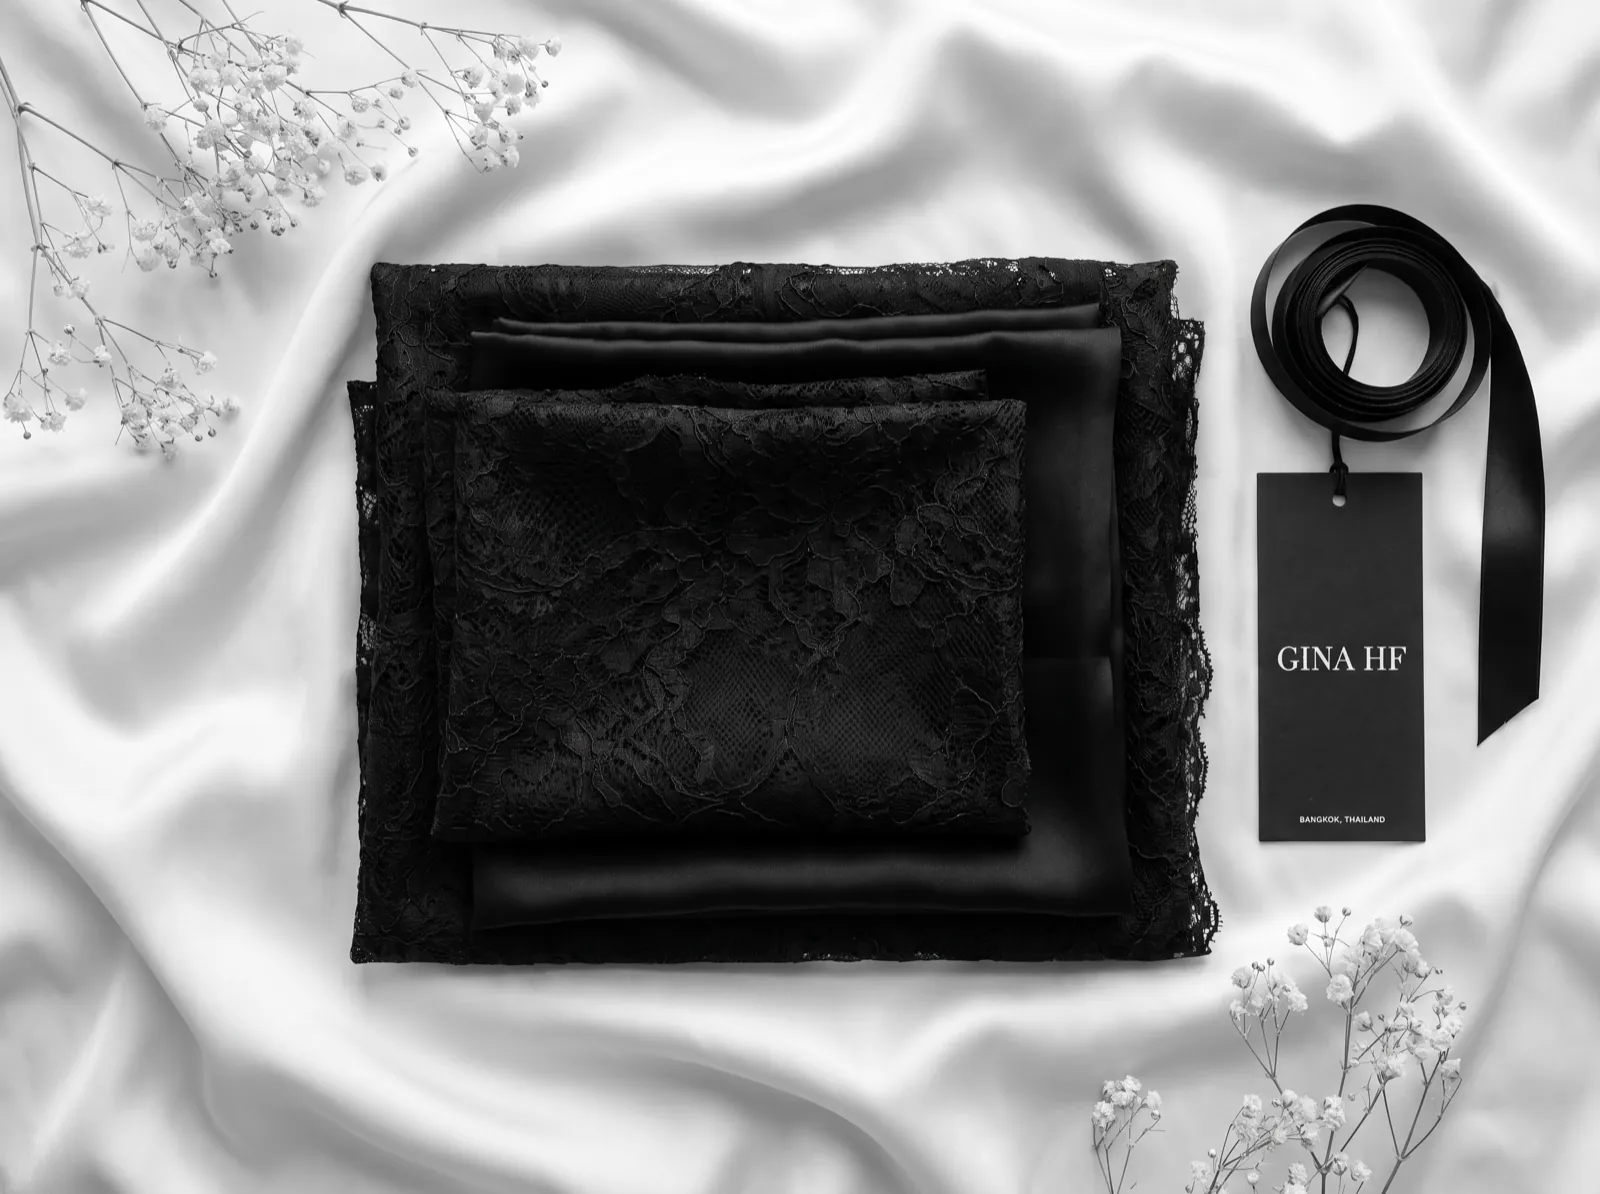
GINA HF — Bangkok
Shaping without darts
A straight-grain slip needs a bust dart and usually a waist dart. A bias slip should have neither, and the shaping is achieved instead by two devices. The first is a gently curved side seam: not the shallow arc of a woven dress but a genuine shape, taken in at the waist and released at the hip, which the bias cloth will follow because it can shear locally. The second is a shaped upper edge — a soft V or a slight cowl at the front — which absorbs the bust volume by letting the cloth drape into it rather than by folding the excess away. Where a piece needs more shaping than this, we split the panel with a curved seam through the bust point, and it becomes a design line rather than a correction.
- Draft flat and square; rotate to the bias only when the shape is final.
- Mark the grain arrow at forty-five degrees, longer and heavier than any other line.
- Reduce or remove ease at the waist and hip; the fabric will supply what the paper does not.
- Shape the side seam generously — the bias will follow a curve that a straight grain would fight.
- Draw the hem provisionally and cut it never. It is levelled after hanging, on a body.
- Cut every panel single-ply and mark the grain on each before it leaves the table.
The strap, which is not an afterthought
The straps carry the entire garment, and on the bias that means they carry a weight that will keep pulling. Cut straps on the straight grain, never on the bias, so they do not elongate over the course of an evening and drop the whole silhouette. Their position on the pattern comes from those two across-front and across-back measurements, and the front strap point is almost always set slightly further from centre than the back — bodies are wider across the front of the shoulder than the back, and a slip drafted symmetrically will slide.
The hem you cannot draw
The final line of the draft is the one that never appears on paper. Once the panels are joined, the garment hangs on a form for two days. It will grow, unevenly — commonly two to four centimetres, and more at the sides than at centre front, because the side seams sit closest to the true bias. Only then is the hem marked level to the floor and cut, and finished with a narrow rolled edge worked by hand, because a machine hem on bias silk introduces its own tension and ripples within a season. It is the last operation in the draft, performed weeks after the first, and it is the one that decides whether the garment reads as poured or merely sewn.